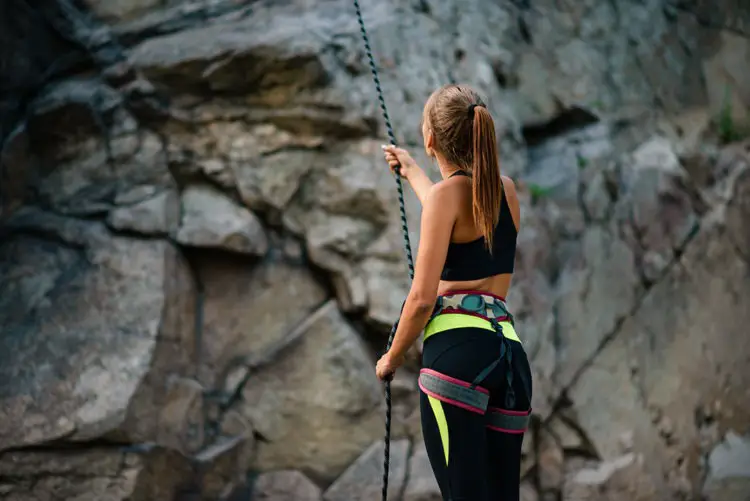
When it comes to climbing, being safe is the only way to go. Taking chances can cause injuries or worse. That’s why you should always use equipment properly. So what if you’re at the climbing gym or you’ve gotten all the way out to your destination and find you’re not fully prepared…is belaying with a hip belay unsafe?
Yes, it is.
Your hip belay is never going to give you the kind of security that a belay device or munter hitch will. Hip belays can’t give you the kind of friction that is needed on the rope. That’s because the size of your body is the minimum radius.
Belaying is one of the most important aspects of rock climbing. Without a solid belayer and a quality belay device, you can put yourself in harm’s way.
So, what can you do?
Read on and you’ll find out how to make do, plus types of belay devices, and all about belay safety to give you peace of mind when you get your thrills.
How to Scramble Safely With a Hip Belay
To effectively and safely use the hip belay in such cases, you’ll want to follow the following steps:
- Tie it up
- Get into proper brace position
- Mind your hand positioning
- Work the right method for belay
- Know what to do to stop falls
- Test the technique
Let’s break these down…
– Tie it up
Take one of the ends of your single climbing rope and attach it with a bowline knot around your waist when you belay. The other end should go around the climber in the same fashion. Give it a more secure backup with a tie of overhand knots next to both bowlines. A 12-meter rope should be plenty for shorter jaunts downward though you’ll need something longer for an alpine scramble, like 30 meters.
– Get into the proper brace position
In order to be the best belayer here, you need to be comfortable climbing without protection. This is where you’ll scramble on up ahead to get to solid terrain. Large trees or big boulders are ideal. Give it a test to ensure stability first and then sit down with both legs braced on it.
– Mind your hand positioning
Now you’ll want to get the rope in position, so your brake hand is on the other side of your brace leg. If you’ve got both legs pulling full force, you can use whichever hand you choose. Whichever hand you’re using, the other hand will be your guide. Take up the slack that remains and then put the rope up and over your head. If done properly, it will be below your pack.
– Work the right method for belay
The good ol’ slip-slap-slide method works here. Let your partner climb up and as they do, get rid of the slack as you pull the rope back around your body. Use both hands, slipping your guide hand back up and pinching both strands of rope together. You’ll then slide your brake hand back toward you without removing it from the rope. From there, drop that brake strand from your guide hand and repeat as necessary.
– Know what to do to stop falls
You absolutely must keep a tight pull on your partner when you’re pulling hip belay. Their weight should always be felt on the rope. Should your climber fall, immediately take your brake hand down and move it across your body. Wrap the rope farther around your core so the friction will catch the fall.
– Test the technique
Doing a hip belay is best on low-angle terrain, and always with someone experienced until you get the hang of it, pardon the pun. The hip belay has its limitations too, so keep that in mind. If you are belaying and you way much less than the climber, the terrain then becomes 5th class, which means you have no natural brace feature. You must have more advanced belaying skills to pull this off with success.
The Most Important Part of the Climbing Safety Chain
Of all the important safety features you need during climbing, belaying is absolutely the most essential. When a belayer makes an error or fails to pay attention, things can go horribly wrong in an instant. As a belayer, you must pay full attention because your partner’s life depends on it. It’s what you’d want as well. Belaying properly can save lives and prevent serious injuries.
If you’re new to climbing, you should learn how to belay just as efficiently. Keep reading to know how you should be holding the rope when you belay.
How the Belayer Should Hold the Rope
In the least complex of workings, a climbing rope will run from the belayer to the climber for a simple belay. That belayer will give out the rope or take it in, always being mindful to keep it tight with the climber. Should that climber fall, the belayer must put friction on the rope, so the belay device stops the fall.
You can apply friction in a number of ways, such as running that rope about your waist as discussed above, using the munter hitch knot, or using a tried and true belay device. There are 3 key components to making your belay work properly:
- Belaying skills
- Secure anchor
- Belay device
First, the belayer must be skilled enough to handle the rope and apply friction necessary to halt a fall. The anchor has to secure the belayer onto the cliff to soak up the energy from a fall. And the belay device is ideal for making the friction even more intense when the belayer kicks into action to save the day.
While you can use a hip belay, it’s not as safe as using a proper belay device. That being said, you should make sure you have one. Read on to find out more about choosing a belay device.
How to Choose a Belay Device for Rock Climbing
Again, it is possible to use a hip belay, but it’s not as safe. It’s recommended you always use the right equipment to keep you and those you climb with safe so you can enjoy many more climbing adventures together. With that said, you should look into the different kinds of belay devices.
Types of Belay Devices
Let’s explore the types of belay devices you can use that is a better and safer option than a hip belay. These are designed to clip right onto your belay loop on the harness along with a locking carabiner for good measure.
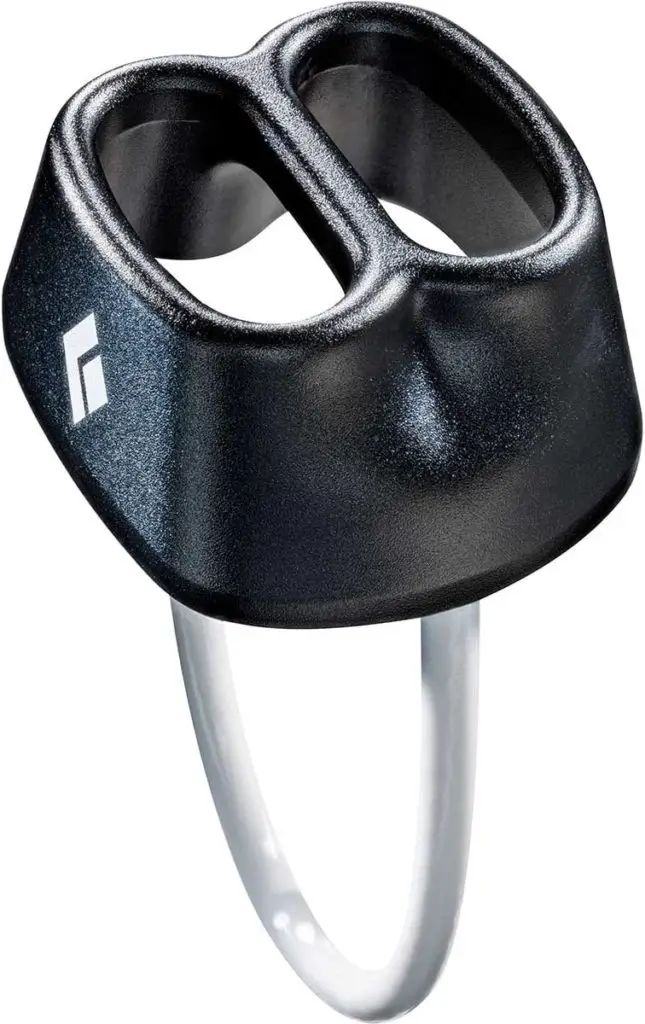
– Tubes
Tubes are certainly the most basic option. The newer versions don’t much resemble actual tubes anymore, but the concept is much the same. A tube-shaped slot passes the rope through and you clip the carabiner to it, bend it, and it creates the friction you need for your braking.
The best performing tubes today are often asymmetrical in shape, which adds better force to your braking. With a toothed groove on some models, it gives a better catch on the rope if a fall takes place. You’ll see most of them with 2 slots so you can belay with twin and half ropes or rappel on 2 strands. Some will even have an auto-block capability for added safety.
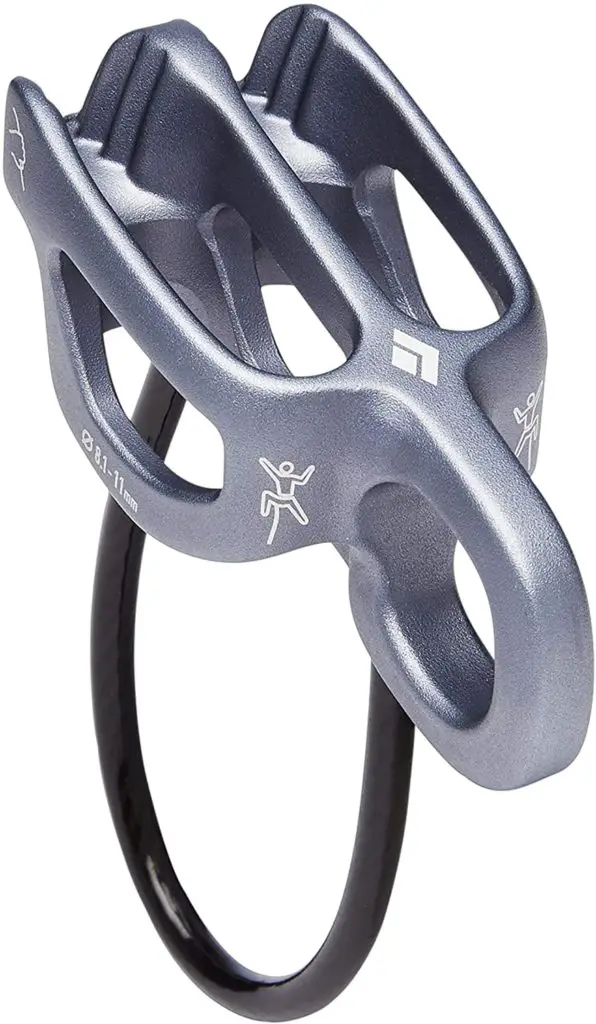
– Auto-Block
These are sometimes referred to as “guide” devices. They’re derived from tubes and have an extra hole for clipping into an anchor. So, you can belay your climber directly off that anchor using an assisted locking mechanism. As the belayer, you need to be extra cautious when doing this to get them in the right way or you’ll forgo that auto-block. They work by causing friction on each end of the rope when they pass over each other.
So, your climber’s rope end is on top, and it gets pinched by the brake end of the rope under it when tension comes into play. Passive and active assisted braking devices can additionally be used as they already have that pinching mechanism, but they don’t all work like that.
You’d want to use auto-block for multi-pitch routes or to belay 2 followers at the same time. Additionally, it’s great to free up one of your hands. Again, great for those multi-pitches since someone always needs to refresh with water, grab a quick snap, or even take some photos of the surroundings. Of course, you should never take your braking hand off those ropes while doing so, but having one hand free is precious indeed.
These tubes are heavier, cost more, and are more complex. As such, you need to be very experienced to handle belaying with this technique.
Assisted Braking: Passive vs. Active
Take climbing to the next level with assisted braking devices. These pinch the rope to catch falls automatically. While it’s automatic, it’s not fool-proof. The term “auto-locking” is used, but belayers should never ever take their braking hand off the rope.
What’s the difference between passive and active assisted breaking?
With passive assisted braking devices, they create braking power as they pinch the rope between your belay device and carabiner. They depend on the position of your brake hand, are lighter, and less expensive than the active versions. But the performance will vary based on which type of carabiner you choose.
Meanwhile, active assisted braking devices create their braking power through the different mechanisms that the device has built-in. The position of your brake hand or your carabiner doesn’t matter. Naturally, these are extremely popular. They take longer to learn how to use safely, but they really are genius and make belaying much easier.
Of course, active assisted braking devices are the most expensive, but you get the best reliability and braking power, a smoother braking experience, and less worry.
Now that we’ve covered all that, whichever belay device you choose, you have to still be actively participating in proper technique for belaying. As you get more into climbing, these things will come more naturally but to sum it up…never let your guard down or you’ll let your climber down (and not gently either).
Belaying Rules to Live By
We have many different belay options today. But whatever you’re using, you will always find these belaying rules important. Learn them, live them, and love them!
– Check, check, and recheck your belay carabiner
It’s so important that you make sure you’ve locked that belay carabiner. Check it once, twice, even thrice. And don’t forget to be sure it isn’t cross-loaded. You don’t want the rope or belay loop loading on the gate of the carabiner or spine.
– Always be compatible
Your device needs to work with the diameter of your climbing rope. Belay devices aren’t one-size-fits-all with ropes. Make sure of that before you set things up.
– Watch your guide hand
When you’re belaying, whether you’re feeding out or taking in the rope through your belay device, your guide hand has to operate the rope on the climber’s side of your device. Your brake hand must hold the rope on the opposite side so you can lock it down to catch your climber if they fall.
– Brake hand never lets go
While it’s ok at times for your guide hand to let go of that rope, your brake hand must never ever come off of it. EVER! Ok, it can when your climber is safely on the ground, but while your climber is in action, your brake hand should remain in a position that’s at the ready to apply force for braking.
– Check each other out
Don’t just check how you’re suited up. Check your climber. And have your climber check themselves and you too. Double-check each other. Of great importance is making sure that the belay device has been correctly loaded and that your harness has been buckled right. Don’t forget about the tie-in knot too!
– Get your commands down before you get up
Knowing the proper commands is essential before you and your climber get into action. Make sure you’re both familiar with them and know what each one means.
– Create your belay checklist
Commit it to memory and check off everything you must do first when you belay. Initially, you may want to write it down and read it at home every night, so you’ll never forget anything you need to do.
– Tie the knot
Never send your climber off without knotting the end of the rope. This way, your climber can’t drop from a lack of rope by the belayer.
Best Place to Learn Belaying
You can’t just wake up and decide you want to start getting into rock climbing and be a belayer on the first day. You should take climbing lessons where you’ll learn belaying, among other things.
Indoor climbing gyms are the best places to start. They take the pressure off because there are mats and safety protocols. This way, you’ll learn all the skills and techniques you need in a more controlled environment. Once you’re comfortable and more skilled, you can go with a climbing partner to the crag and really get up there.
Additionally, these gyms will usually have you perform a belay test, knot-tying, and other milestones so you can feel secure in knowing you’ve got the right skills to belay and climb safely.
Conclusion
It’s really not safe to use a hip belay, but you can do it if you must. If you’re not experienced though, it’s much more dangerous. Get the right belay device and learn how to use it.
Many people choose active assisted braking because it makes things so much easier, but it’s an investment. Then again, so are all the components to climbing gear. Invest wisely, and you’ll have these things to keep you and your climbing partner safe for many adventures.