
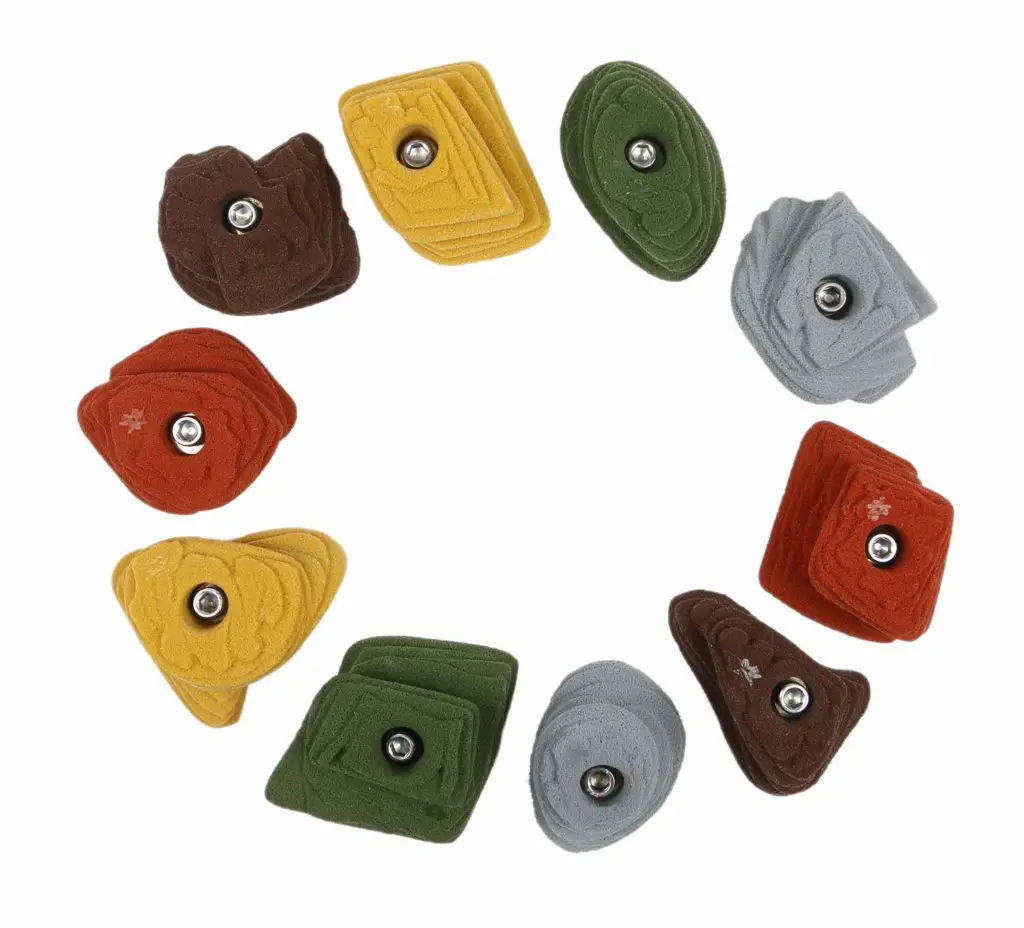
Indoor climbing holds come in a variety of different colors, shapes and sizes. For a beginner figuring out how to climb them might be a daunting challenge. Simply pulling yourself up might not be the wisest choice, since your leg and body positioning play an equally important role in getting you to the top and back down. Here, we’ll focus mostly on the different climbing holds and how to use them.
What are climbing holds made of?
Climbing holds used to be made from rock, wood and polyester resin. However, none of these are as widely used anymore leaving way to more modern materials such as polyurethane resin and fiberglass.
There are 3 basic ways to grab a climbing hold:
You can either pull up, down or to the side depending on the situation.
Practice is key, so tryout every kind of handhold you encounter in the climbing gym, while applying the following principles to acquire the best technique as well as finger and forearm strength.
1- Jugs
Jugs are traditionally quite large and positive climbing holds, as such, they’re easy to use. They can also be used as resting holds. Thanks to their climbing ease, you’ll mostly see them on beginner routes.
How to climb jugs:
You can climb jugs by curling your fingers over them and simply pulling with your hands while pushing with your toes, always remember to keep your hip close to the wall. You can also use a jug to climb up a fixed rope using an ascender.
You’ll often be able to use jugs with both hands, this is referred to as matching. If you put two hands on the same hold, it’s called a match.
Some jugs can be held from the bottom, while pulling up on them, these are known as underclings.
Other times, you’ll find yourself pulling on them to the side, making it a side pull.
2- Incuts
While incuts are similar to jugs, they’re a bit smaller, whereas you can fit two hands on jugs, only one hand can be used on incuts. The lips on incuts are less pronounced making them harder to climb.
How to climb incuts:
Keep your arms straight while reaching for the incuts and curl your fingers on the lip just as you’d do on a jug, only now you’ll have to try to burry your fingers as deep as possible to avoid slipping.
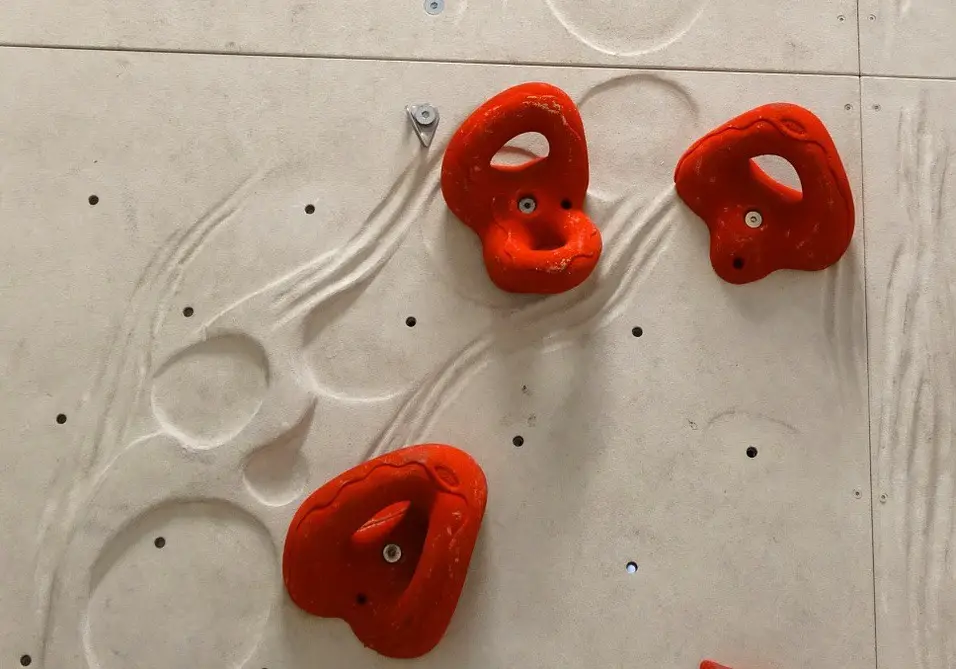
3- Pockets
Pockets are small recessed climbing holds with a hole in the middle that you can fit, one, two or 3 fingers in. Building your finger strength is paramount in climbing pockets, you should always build up your tendon strength beforehand and go easy on these holds to avoid any injury. You can train for these holds by holding onto pull-up bars with your fingers instead of the palms of your hands.
Different kinds of pockets have different climbing techniques. Here are some easy tips to conquer these holds:
How to climb 1-finger pockets:
These are by far the hardest to climb, as they put a lot of stress on your tendons. You should always use your strongest finger while climbing 1-finger pockets.
How to climb 2-finger pockets:
When it comes to two-finger pockets, you can either use your index and middle finger or your middle and ring finger, depending on what’s more comfortable for you.
How to climb 3-finger pockets:
These are the easiest pockets to climb, you can simply insert your index, middle and ring finger, while using your pinky and thumb to provide additional balance. As a rule of thumb, you should always keep your center of gravity beneath the hold and your arms straight while climbing pockets (if possible).
4- Pinches
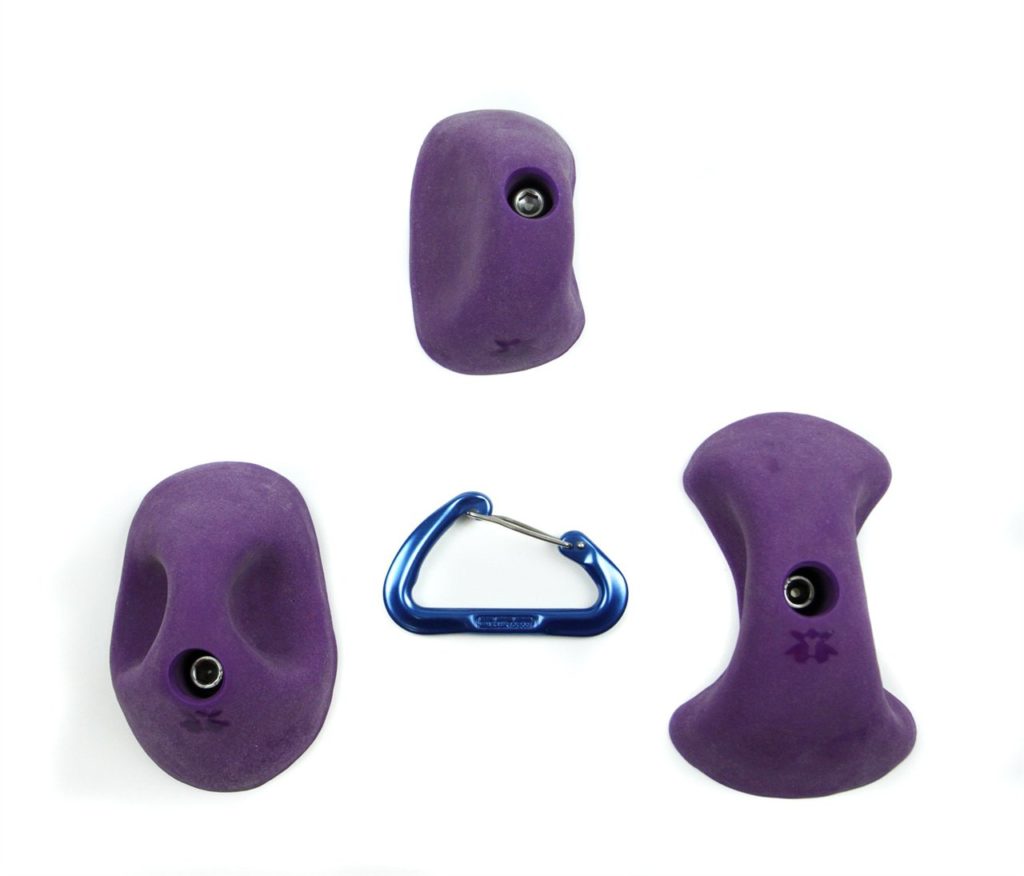
Just as the name suggests a pinch is a small or narrow but elongated hold that you pinch with your thumb on one side and your finger tips on the other.
How to climb pinches:
Unlike pockets, you shouldn’t keep your body underneath a pinch while holding it. Instead, you should keep your center of gravity off to one side, while holding the pinch with your hand, your grip on it should resemble the pinching action of a crab.
Pinches generally require a fair bit of thumb strength. Some of the things you can do is use pinch holders and kettlebells to strengthen your tendons and get used to the weight.
Note that many holds can be climbed as pinches simply by engaging your thumb.
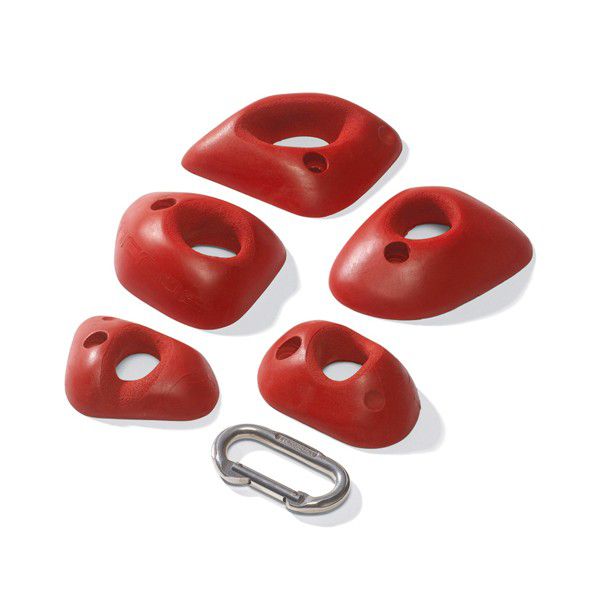
5- Crimps
Crimps are small but quite positive holds that you can just get your fingertips on. You have two options when climbing a crimp as you can either do a full crimp or a half crimp.
How to do full crimps:
A full crimp is usually performed on small and narrow handholds where you should place your fingertips on the hold, while your thumb goes on top of your index finger, to give you a secure hand position.
Some climbers argue that bending your fingers over 90 degrees while climbing puts too much stress on your joints and tendons and may even damage them, so you may want to grip it in a wider hold, with your thumb under it or to the side and ONLY use full crimps when absolutely necessary.
Please avoid using pain killers to treat your finger injury, as those would only treat the symptoms and mask the pain, while you keep adding salt to the wound by continuing to train, you should definitely take a few days off or until the pain subsides, asking your doctor might be a good choice.
How to do half crimps:
Although a half crimp is weaker than a full crimp, it’s much safer for your joints and tendons. A half crimp is commonly referred to as an open-hand crimp, where you use the same technique as for the full crimp except that your thumb won’t be used to lock your index finger.
Use this technique whenever possible instead of a full crimp to avoid injury.
This climbing grip also offers a great way to build forearm strength while bouldering in a climbing gym, however, like everything else use it in moderation to avoid any possible injury.
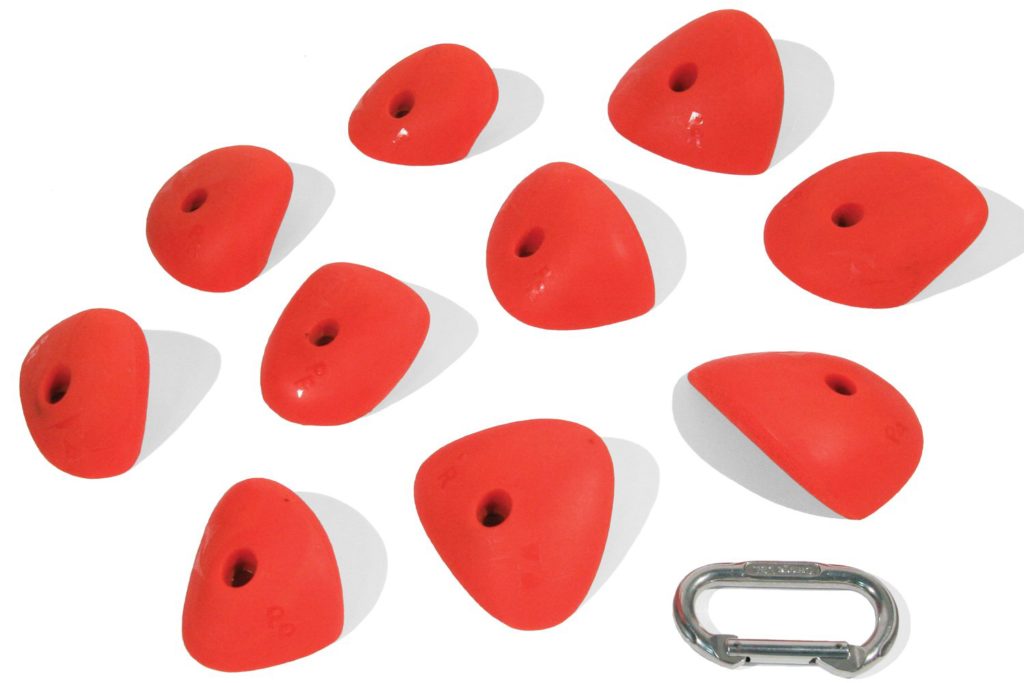
6- Edges
Edges are commonly found on mountain rock faces, but their artificial counterparts are also found in climbing gyms. These holds are positive and resemble a jug only that they’re shorter and shallower.
How to climb edges:
Climbing edges is very straight forward. Keep your arms straight while reaching for the edges, then place as many fingers on the hold as you can and pull yourself up while you push with your legs.
7- Slopers

Unlike crimps and edges, slopers are relatively featureless and sometimes offer little to no grip due to their smooth surface, however, some slopers have a rough surface offering more traction. Still, you won’t be able to climb these holds through sheer finger strength but rather good technique and a fair bit of training, that’s why you’ll see most beginners struggling with these holds.
How to climb slopers
– Body positioning:
Just like for any climbing feat, a good body positioning is paramount for a successful sloper climb. First of all, you should start off by reading your route, take a moment to find your ideal climbing, furthermore, you should consider if it would be better to push up, down or sideways on the sloper for maximum efficiency. Once you make contact, keep your entire body as tight as possible and don’t forget to keep your hip and torso close to the wall while moving to and from the sloper. Additionally, your center of gravity should be below the hold.
– Hand positioning:
Different areas on the slopers have different textures, some are smoother while others are rough and easier to hold on to. Try to make out the most convenient spot to place your hands on for maximum traction. There might be an incut or a crease on the sloper, so feel for it and if you can, crimp it. Just like a basketball, slopers can be held with your fingers spread wide apart while pressing and squeezing. When climbing flatter slopers, you can put your fingers together while pressing down by bending at the base of your fingers.
Some slopers can be climbed by pushing against them with your thumb facing down. This position is known as a Gaston.
– Toe positioning:
Always try to make out toe- and heel-hooks, which can help you take off some of the load from your upper body to save energy.
8- Volumes
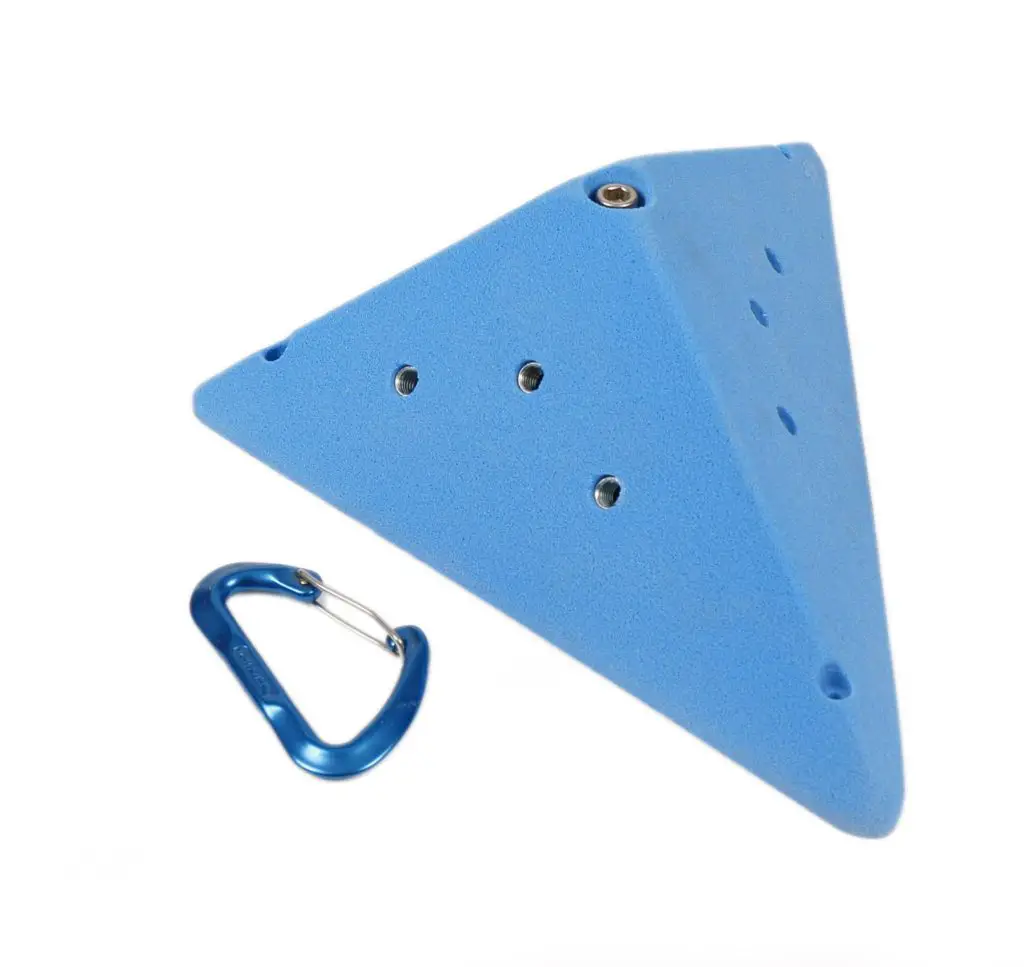
Volumes are the biggest climbing holds on which a variety of handholds can be attached. They come in a variety of different shapes and sizes, from pyramids to half balls, some are even suspended from the ceiling by a chain which can swing if you climb them.
Some bouldering routes are constructed entirely from volumes. The lack of regular climbing holds makes this a worthy challenge for even the most seasoned of boulderers.
How to climb volumes:
There are a lot of different ways to climb volumes. If they lack any climbing holds, you should always try to make out any positive edges and climb them, alternately, you could crimp on the edges of the volumes.
You could also use volumes for mantling, here you should push down with your foot or hand on any non-vertical side of the volume to reach for another hold which might be easier to use.
Please share this article if you found it useful.