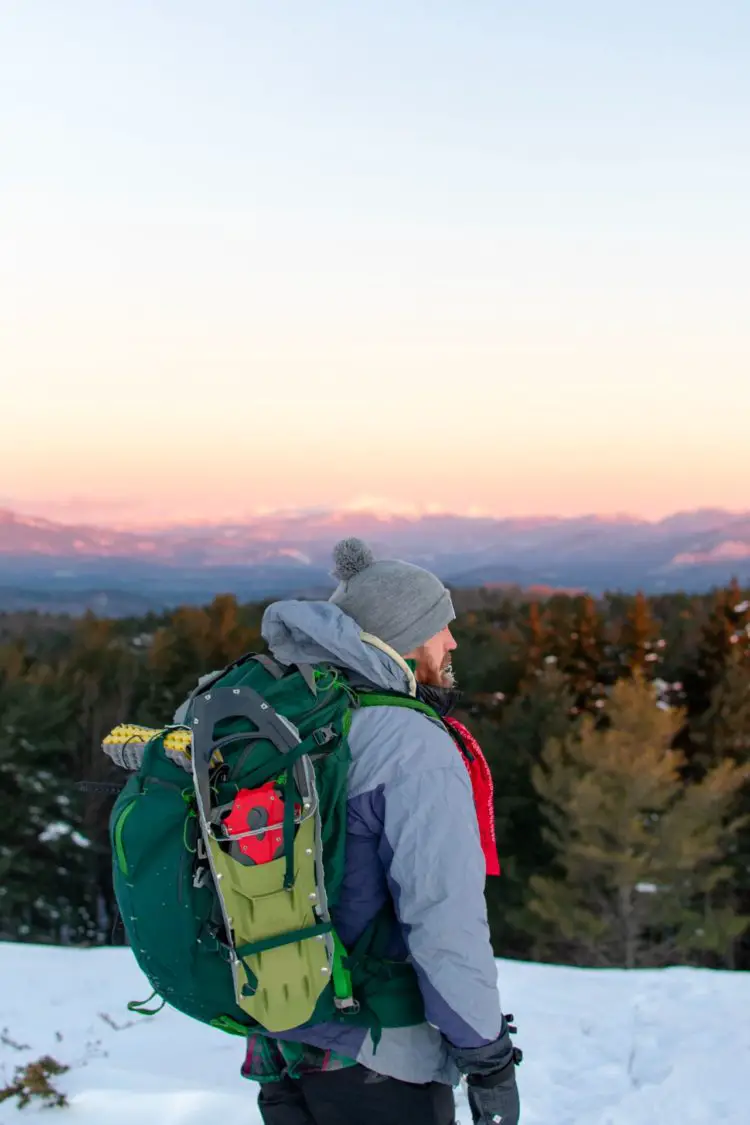
Are you going on your first multi-pitch? No doubt you’re excited but with staying overnight and camping out comes the nitty-gritty details of how to take all your gear for climbing as well as your overnight essentials.
In particular, many people wonder how do I tie a sleeping bag to my backpack?
The good news is there are quite a few ways to do this so you can take your pick. Though it also depends on the type of backpack you have. Your options basically go like this:
- Connect the loops on your pack to the sack straps
- Attach your sack to the compression buckles on the sides of the backpack
- Create your own tying system MacGyver-style using webbings and a buckle
- Make use of the lid to compress the sleeping bag
- Just use the tie points on the bottom
Again, it depends on your backpack so keep reading to find out how to tie your sleeping bag on and see if it’s a match for the pack you have. And if you’re shopping for backpacks now for that multi-pitch, you can use this as a guide to see what feels most comfortable to you when making your purchase decision!
Use the backpack loops & the stuffing sack straps
For this method, your sleeping bag’s carrying sack needs to have straps. Also, your backpack needs to be equipped with loops on the back panel. If you have both of these features, all you need to do is pull the straps on through those circles and then tighten it. Easy!
Of course, not every backpack is equipped with these loops, and not every sleeping bag has straps. Maybe you’ve even lost the carrying sack for your sleeping bag. You can tie on the sleeping bag’s straps itself, but you have to be careful. If it’s not waterproof or durable, you might have a wet and unusable sleeping bag for your trip which is not ideal.
Perhaps in this scenario, it’s best to go shopping. Buy one with adjustable straps, one that is made of nylon to help keep it nice and dry.
Use the compression buckles
Those compression buckles make fine loops. If your backpack is equipped with these, you can take on this method of tying your sleeping bag on. This will be ideal if you’ve got an older backpack. Compression buckles are great for helping to stabilize your load, and well, for hosting your sleeping bag.
They were originally designed to give more support for fully-loaded packs. When you’ve stuffed it to the hilt, the straps secure any gaps and keep your load from swaying. They’re often found on the sides, making them ideal for tying your sleeping bag. Because there’s a wide angle between these straps, it keeps your sleeping bag from swinging around. This is a great method simply because it keeps the weight fixed and evenly distributed through your adventure.
Build your own tying system
Have you ever seen those old reruns of MacGyver? He was a legend! He could take random objects and make things out of them in a pinch to come to the rescue. You can take a page from the MacGyver handbook by tying your own system.
You’ll want to try this if you have no straps on your sleeping bag and your backpack has the proper loops for it. All you need to do is create your own tying system on the sleeping bag.
In its most basic form, you can get by with just 4 pieces of twine. You’ll wrap the first 2 pieces around your sleeping bag and the other pair you’d use to connect it to the backpack loops.
That’s pretty rudimentary. MacGyver would have used a paperclip somewhere in there.
If you want to go a little more complex and a lot more durable, you’ll need 2 webbings about an inch each plus a buckle. It’s actually not that hard to do and you’ll have a more secure fitting that holds your sleeping bag in place through it all.
For internal frames: use the lid
With internal frame backpacks, they tend to have a long compartment with tightening straps on the bottom. This layout means you’ve got to jumble all your gear in a stack and then dig through it like a dog looking for a bone just to get something out (spoiler alert: What you need is ALWAYS on the bottom).
It’s exhausting though it’s one of the most helpful for your back. Plus, the lid on top is ideal for tying your sleeping bag. It’s a quick process too. Use the straps on the cap itself and then put the sleeping bag on top of everything else. Then simply cinch those straps down tight and you’re in business.
There is one very distinct downside here though. It leaves a gap between that lid and the rest of your pack. If it rains or you’re near any dripping water, you’ll have a soaked pack of supplies. You can remedy this with a nylon cover which will close up the gap. Don’t forget it!
For external frames: use the tie points at the bottom
Perhaps one of the best packs you can have is one with an external frame. They give you great support and are fully solid in structure. These have tie points on the bottom. With internal frames, you’ve got loops on these points but they are looser. With external frames, they strap onto the tying points without causing any swinging. Not having back pains on a trip that will require every bit of your strength and endurance to enjoy yourself and stay safe is worth every penny.
How to tell whether the frame is external or internal
Not sure what’s what? External frames are square-like in shape. They can carry larger pieces of equipment than internal frame backpacks too. External frames are made of metal, though newer packs make use of more lightweight materials. Internal frames are already more lightweight and slim, but external does have benefits over it. If you want an external backpack rather than an internal one, look for the newer ones with the lighter material to keep you from having back woes.
Either way, once you know how to attach your sleeping bag to whichever backpack you’ve got, you’ll be fine.
Should you tie a sleeping bag to the top or bottom?
It really depends on what you prefer, though sometimes, you have to go where the loops and straps are located on your pack. Most backpackers will say it’s better to have it on the top though. There are a couple of reasons behind this theory.
Even the fittest and strong among us will need to take a rest after hiking a few miles. When it’s time for a break, you’ll likely put your backpack down to take full advantage of the rest stop. But if your sleeping bag is secured to the bottom of your backpack, you’re going to be putting it into dirt with every stop. If you have a sleeping bag cover, that helps but do remember the nylon will wear down the more you set it down on the ground.
Another concern while moving through the bushes and trees is that your sleeping bag connected to the bottom of your backpack will get scraped and scratched up. Ideally, keeping it on top is preferred, plus it can keep you from adding more weight to your lower back which can set off pain.
Again, it’s your choice and you should go with 1) what you’re capable of doing with your backpack and 2) what feels most comfortable to you.
Consider packing your sleeping bag inside
Sometimes, it might be best to pack your sleeping bag inside the confines of your backpack. When it’s on the inside, you’ve got little to worry about in the way of it becoming damp or wet. As you likely know, a wet sleeping bag is completely useless to you on your adventure.
Another reason you should make room for your sleeping bag on the interior of your backpack is that it allows you to hang any wet gear you have (like your tent or hiking boots) on the outside. Even by hanging in close proximity to wet items on the outside, your sleeping bag can get damp.
With internal frame backpacks, the straps at the bottom can be used for additional compression which leaves more space for your gear from above. Plus for both internal and external frames, you may even have a backpack that includes a separate compartment for your sleeping bag.
Some people use this for footwear, but it’s a much better idea to keep your sleeping bag in that space if your backpack has this feature. However, it’s better to keep your footwear out and leave that dry space for your sleeping bag. It’s so important to keep it dry!
Remember to keep your sleeping bag dry
Perhaps your sleeping bag got wet overnight. Then what do you do? You’ll want to dry it out as much as you can before you roll it up. Sometimes, that’s just not possible, but you’ll have to do your best before rolling it. If you have to pack up and get going, once you get to your next point, you should unroll it immediately and hang it above the ground to dry it before nightfall.
Not only will you be uncomfortable in a damp sleeping bag, but it can get moldy or mildewed so it’s incredibly important for you to dry it out fully. You certainly don’t want to get back from your trip, toss it in a corner and then go to use it again only to find it stinks to high heaven. It’s the kind of stink you won’t be able to get out, plus mold and mildew aren’t good for your health. You’ll wind up having to replace your sleeping bag.
Dampness affects sleeping bags performance
A damp or wet sleeping bag is a huge problem. If it’s filled with down, it will keep you warmer, especially compared to synthetic fillings, but the problem is that down fillings are worse for wet conditions.
Those fine feathers insulate the thermal conduction by locking in the air in little pockets. So the heat doesn’t leave your body and instead, it keeps you nice and cozy. Unfortunately, when those feathers get wet, the whole thing is useless. It won’t stay insulated and therefore you’ll be chilly and shivering all night. Synthetics can recover faster when they get wet, but they’re just as likely to keep you cold and uncomfortable all night if they get wet.
How to store your sleeping bag to avoid dampness
There are a number of reasons why you could wind up with a damp sleeping bag while on your multi-pitch camping excursion. It could be condensation, rain, or even coming into contact with your damp tent hanging on the outside of your backpack.
Hanging your sleeping bag on the outside of your pack significantly increases the chances that it can get wet. You never want to sleep in a damp bag because you’ll be uncomfortable and likely cold. You’ll also run the risk of getting yourself sick which means you’ll have to go home sooner than expected.
If you absolutely must tote your sleeping bag on the outside of your backpack, you should choose two-layer protection. Take your sleeping bag and stuff it into a thick, water-resistant garbage bag. The kind that you’d use for landscaping debris is ideal because it’s pretty sturdy, though any form of tarp or other strong plastic wrapping will work too. Then wrap it up again in the sleeping bag’s original carrying sack. If it has a strap, you can simply secure it to the backpack loops but if not, you can always use the MacGyver tips above to make your own strap.
Now that you know about how to take your sleeping bag along on your adventure, you should also know that proper care for that sleeping bag upon your return will keep it ready for future trips. For this reason, you should remove your sleeping bag from your backpack rather than leaving it bundled up and attached or even shoved inside.
You should air it out so it is completely dry and then store it folded loosely in your linen closet or even a guest bedroom. You don’t want to leave it all wound up because it will compress the filling which makes it less helpful in keeping you warm and cozy on your outings.
Conclusion
There are many ways you can attach your sleeping bag to your backpack. On the outside, you should take care to protect your sleeping bag from getting wet. This is why the inside of the pack is the best place. Some backpacks even have a special compartment for your sleeping bag.
If you don’t have one or simply don’t have the room to fit your sleeping bag inside, double-wrap your sleeping bag in a water-resistant bag before putting it in the carrying sack. This will keep it nice and dry, plus safe from scrapes along the brush when you’re moving from destination to destination.