The great outdoors is an extraordinary place, full of peacefulness and reconnecting with nature. It’s nice to unplug for a bit and get back in touch with what really matters, especially when you camp out with family or close friends.
There’s nothing like gazing up at the stars together and living life the way our ancestors did. Living on the land or at least with what you brought to that land is very humbling and an experience everyone should try at least once in their lives.
Of course, while it feels secluded and lightyears away from everything you know, you’re not alone. Something is always watching you. It could be something as gentle as a shy bird or two. Or it could be something waiting to dig into your food supply from raccoons to bears!
And from big critters to small ones, they’ll all have a great interest in your food if you don’t take steps to secure it. Their noses can sniff things out from pretty far away. No one wants to wake up to a big mess the next morning. Or worse, no supplies. Even worse, if you smell like food yourself, you might be targeted!
Animals have the instinct to look for food. As campers, beginner or pro, it is our duty to keep our foods out of their natural habitat. When they become accustomed to ‘people’ food, they then become a threat to the safety of everyone who comes to enjoy the unspoiled woods. That’s not fair to these beautiful creatures who the rangers will put down if they continue to encroach on campsites.
Aside from keeping the animals from coming for your food, you should also be packaging it correctly for food safety. There is no worse place to get diarrhea than out in the wild, believe me.
So follow me, please, as I take you through our guided tour of how to pack your food so it doesn’t smell and attract animals, and how to pack it so you don’t wind up with food poisoning and have to crawl your way back to your car to head home early.
How to keep the food smell from going into everything you’re carrying
Often, camping involves a great deal of hiking to get to the campsite. The payoff is grand with glorious views, but you’ve got to pack that food constructively in your bag. You don’t want everything you’re bringing to smell like food. Otherwise, a hungry bear will think nothing of sampling your tent. Here are my tips for avoiding disaster!
– Carry a separate food bag
A great way to handle this is to use a bag with a shoulder strap that’s separate from your backpack. All food should go in there. That bag should only have things for cooking and eating. With the strap, you can hang it up so it’s out of the way for critters and it’s an all-in-one solution to your food smell troubles.
– Double layer your food
You can also wrap your food in two layers of plastic bags. If you’ve been wondering how to get rid of all those plastic bags from the supermarket, here’s a great way to use them up. It’s a free option that won’t weigh you down and provides some level of waterproof protection. You can also toss them after that in a proper trash receptacle as long as there is only waste and not food left remaining (remember, our animal friends like to dig through the trash for your free leftovers).
Using these bags means you can also easily open and close them, resealing them as you need. If you have foods that are more prone to spilling or have more of a smell, use those zippered freezer bags.
And if you’re going to use something like sugar, salt, powdered milk, or anything of that texture on your trip, tuck them into clean PET bottles. This way, even if your pack gets wet, those powdered items stay dry.
How to keep food smells from attracting animals on the campground
Now, I’d like to get further into what you can do to keep the tantalizing smells of your foods from bringing in visitors with fur. These products are great for those that love camping and are worth buying if you plan to keep going into the great outdoors.
– Try sous-vide bags
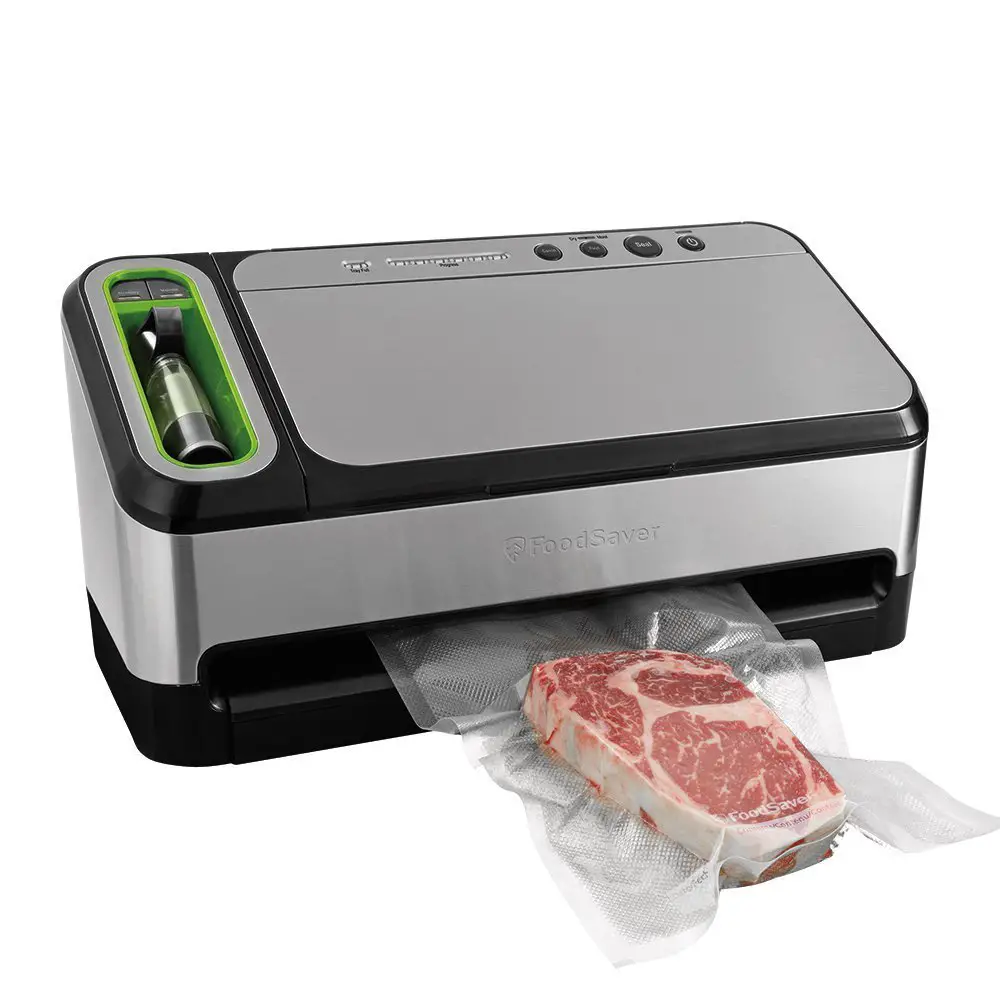
Sous-vide bags can be used in your home kitchen even when you’re roughing it at home. I like the FoodSaver V4840 2-in-1 (Amazon link) because it’s extremely helpful when prepping for my campouts. One downside you’re probably thinking of is that you can’t reseal these bags without the machine. Which you won’t be taking on your campout. I get that. BUT!
You can (and should) pack your meals per person in separate pouches. Portion everything out. If anyone is still hungry, you can heat another bag up in hot water. There’s nothing like a hot meal that tastes great out in the woods.
The animals won’t smell it either, at least not until you’re done with it. Then you’ll need to dispose of the waste properly. I’d recommend double bagging it or using a bear canister (keep reading to find the one I recommend) to keep them from exploring your trash.
In any event, here’s why I like going with sous-vide bags:
- They create an airtight seal around your food
- You can prep days before your trip by storing these bags in your fridge
- It’s pretty affordable and something you can use even when you’re not camping
- You can get creative with your meals
But there are a few things that you might want to consider on the downside:
- They make lots of waste since they’re not biodegradable
- You’ll have to carry them with you for the duration of your campout
- You can’t reseal them while you’re out in the wild
- Not eco-friendly since you can’t reuse these bags
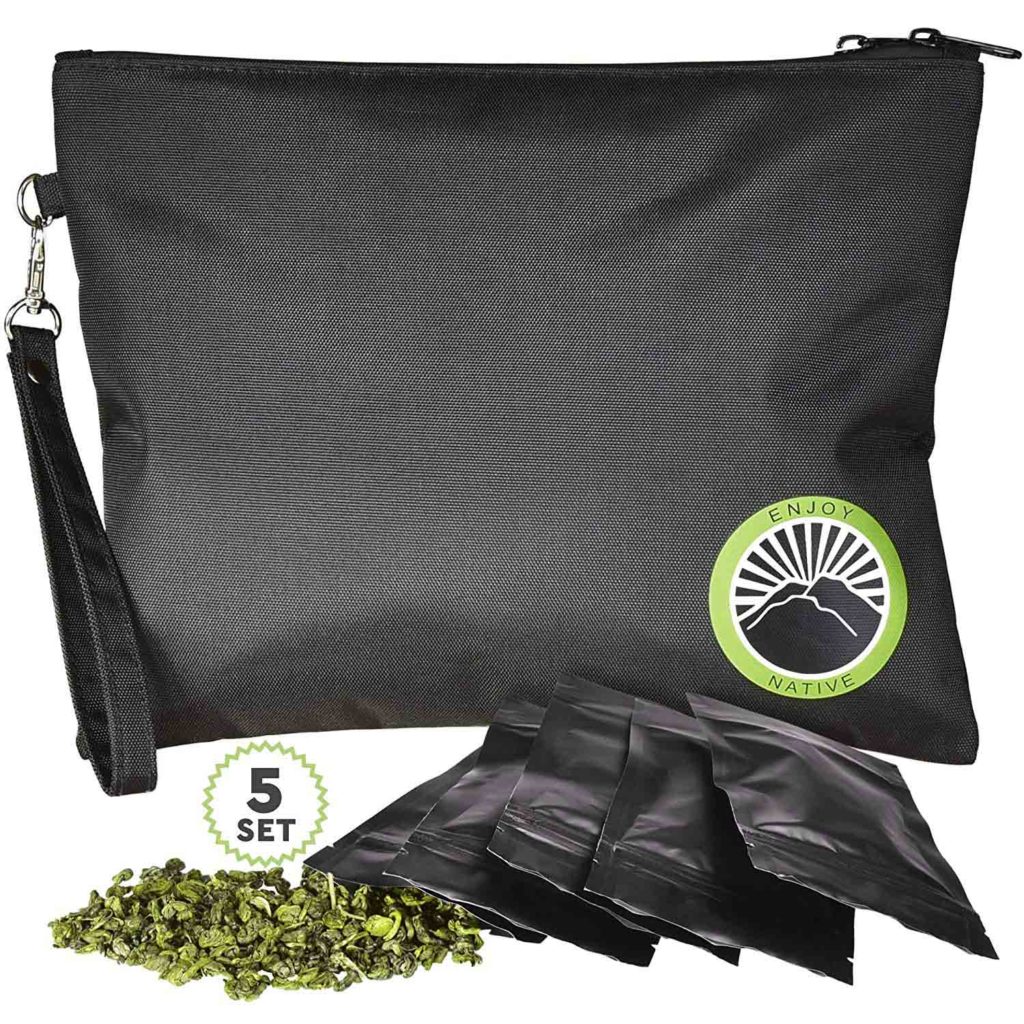
– Smell-proof bear bags are a great option
Even if you’re camping out somewhere that bears aren’t known to reside, it’s a good idea to use odor-proof bear bags (Amazon link). This will also keep other animals from squirreling away your food. They’re made with high-density polyethylene which animals can’t get into. You can also use an aluminum liner to fit into it which would keep animals from puncturing the food or crushing what you have inside.
To be on the safe side, choosing odor-proof bags that have passed the stringent tests of the Interagency Grizzly Bear Committee (IGBC) to protect your food. These are very lightweight and compact so they make for a wonderful way to store food with the peace of mind to enjoy roaming the outdoors and exploring the beauty of the land.
On the downside though, some national parks won’t accept bear bags to be used for bear-proof food storage. You should definitely check with the national park site that you plan to camp at in advance. It’s good practice anyway to make sure there aren’t any other restrictions (like for building fires for example) that you’ll need to plan for.
Additionally, we have to remember that while smaller animals can’t carry off a big bag of food, bears absolutely can. I know people who have experienced this situation. As long as where you’re camping allows these bags, make sure you take the following precautions:
- Pulls the drawstring tight and knot it as specified by the manufacturer
- Tie them up to a tree limb or use a bear pole
- Write something on your bear bag so you can discern it from your other white plastic bags
- Canisters should be used to store your essential food items while the bear bag should be used for trash and less important edibles
And as I’ve been mentioning bear canisters a bit, let me tell you some more.
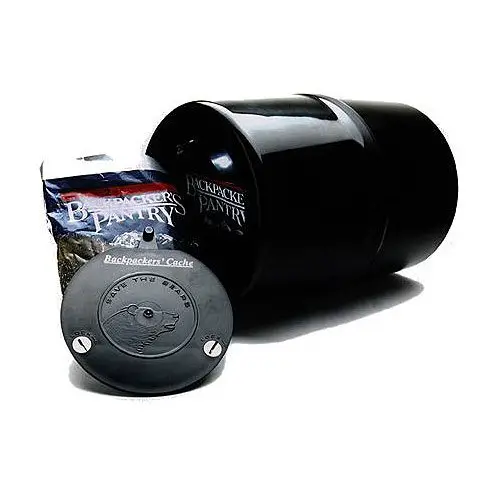
– Bear resistant containers are an even better choice
A bear-resistant container (Amazon link) is basically a cylinder of hard-shell plastic. The lids screw on and off, usually by way of screwdriver or coin to prevent bears from getting into them. They fit into most backpacks but come in a variety of sizes. If you’re going with a group, you might want a larger one or get several in manageable sizes to split up the food.
Again, I urge you to check out all the requirements of the campsite you choose online first. Check the forums too. You don’t want to head to a campsite where bear canisters are required and not have one. Should you get stopped by a ranger and you are without one, you could be slapped with a very heavy fine.
If it’s your first time camping, you can borrow or even rent bear canisters, but during busy weekends, it’s first come, first served. You might be surprised to encounter a mandatory bear canister even in areas that don’t have bears, but do remember that raccoons and other animals are pretty adept at stealing food too.
Whatever you do, just make sure you have one so you don’t run into trouble, either by the park ranger’s fines or the animals who will steal your food. They’re a good thing to have because bears (as well as other animals) have very rarely been able to open them. Also, you don’t have to hang them up and they can make for added sturdy seating at your campsite.
You can find some that are clear too so you can see what’s inside. This is ideal if you have a few bear canisters among your group. You’ll know who’s got the chocolate for the s’mores and who’s got the marshmallows!
Most bears have encountered bear canisters and have come to learn it’s not worth their time to struggle with. They may come up and take a sniff and then promptly leave. They want easy-access food.
The only downside with bear canisters is that they weigh between 2 and 4 pounds so they’re not exactly light. But if you’re required to use them at your campsite, you have little choice.
My pro tip for you: Do what I did and slap some reflective tape on your bear canister. Should you hear any noises at night, you can easily poke your head out of your tent and see what’s up.
I really like the Counter Assault Bear Keg. It weighs 4 pounds, but it can fit a solid 6 to 8 days of food in there. I’ve had critters paw at it and try to bite it and nothing disturbs the durable polymer. It also makes a great seat around the campfire or a fun makeshift drum!
Or simply hang your food
Some people forgo all that (when permitted by the park rangers that is) and just hang their food. All you really need is a good, sturdy tree limb that’s high up. In some places though, you’ll find bear poles. These are tall metal poles that have a large hook at the top. You can your food or your entire pack up there. There’s a long metal pole provided nearby to help you hoist your food up to the hooks.
In other places, there may be a metal cable hung high up horizontally between 2 poles. This is often a lot easier to work with. What’s nice about hanging your food is that you don’t need to buy anything special. The only things you’ll need are rope (which you should have along anyway just in case) and a sturdy bag.
But hanging your food doesn’t always work. For example, if you’re up above the tree line or out in the desert area, there’s no option for using a branch. And even when you do find a tree, it’s a difficult process. It looks simple but you’ll spend some time trying to maneuver that bag up there.
And let’s not forget just how smart those bears are. Some of them have become quite adept at pulling on those ropes to snag your bag.
If you need to hang your food, here are some tips for doing it:
- Use a 50-foot to 100-foot rope
- Tie a weight to it (your tent-stake bag filled with rocks will do the trick) and toss it over the tree limb or available cable
- Untie the rock bag and attach the food bag instead
- Lift it up so it’s about 10 to 15-feet high
- Make sure it’s about 4 feet out from the tree trunk or the bear pole
Again, be prepared to spend some time doing this. You just might want to rethink it and get that bear canister. You could be sitting around the campfire, relaxing and telling stories over beer by now!
And one more thing, don’t sleep in the same clothes you cooked with
This is one big tip I’ve found myself saying to new campers more and more. All it takes is one scare and you’ll never do it again, but just so you don’t… NEVER wear the clothes you cooked in to bed. NEVER!
Animals have such a keen sense of smell. Those smells from cooking the food, smoky roasted meats and hotdogs, baked beans, and all those campfire foods we love are things bears have come to love. And not only do those food smells permeate our clothing, but we also inadvertently dribble them on our clothing. Unless you want a bear bothering you late at night thinking you’re just one giant tasty hotdog, please follow my advice:
- Wear an outer layer for cooking to be removed before bed
- Stow any clothing with food smells or spills in bear bags
- You can also smoke your clothes over a fire, if fires are permitted
- Or put clothing under a gear tarp and keep it far from the tents (100 feet should do it)
Outdoor food safety practices to live by
Now that we’ve covered food packing to prevent animal invasions, let’s talk about food safety. All perishable food needs to be kept cold. You can’t leave it out at 90°F or hotter weather for more than an hour. Anything cooler, you’ve got 2 hours max. But why chance it? You don’t want them to be unsafe to eat. Otherwise you’ll just have to throw them out, and what a waste that would be!
Here are the things I always take with me on every campout. Make a checklist so you remember to take them too for good food safety!
- Biodegradable soap or hand sanitizer (also, disposable wipes can work but they create more waste)
- Plates and bowls
- Pot or kettle
- Different utensils for cooking and eating
- Can opener
- Ice or ice packs
- Garbage bags
- Water purification tablets (or portable water filters are great too)
- Meat thermometers (make sure your meat is being stored at the right temperature and cooked to the right temperature too)
Additionally, you always want to follow the golden rules of food safety. That includes washing your hands before and after eating. For those times when you can’t wash your hands, make sure you use hand sanitizer. When packing hand sanitizer, it should have a minimum of 60% alcohol in it to prevent bacteria and germs.
Never put raw meat and ready-to-eat food together. It makes me cringe to write this, but you wouldn’t believe how many people I’ve seen get sick because they put food that was ready to eat on a plate they used to hold raw meat. Ugh.
And while it might seem annoying to take a food thermometer along, it’s essential to ensure you cook the food fully. Cooking over a fire is a different experience than a stove or oven. Make sure the internal temperature of your meats is safe!
For cold foods, these should be stored below 40°F. If you are camping with an RV, it’s easy with a fridge, but out in the wild, ice and ice packs stuffed into a good cooler will keep your temperatures for raw meat and poultry right. Leftovers should be kept in clean containers if you have any ice left. Keep your cooler out of the sun to keep it cool too.
If in any doubt, take the temperature of the inside of the cooler. If it’s not cold enough, don’t risk eating anything from it.
Conclusion
As you can see, there are many ways to keep animals out of your food while camping. There are also important things you must do to keep yourself safe when consuming the food you bring. With this handy guide, I hope I’ve been able to shed some light on making it easier to pack for camping and enjoy your time out there. The last thing you want to do is cut any campout short because your food was eaten by wildlife or you ate something that made you ill, so be smart with your food packing!